Getting Started
Sensespace is a powerful AI assistant platform combining all agentic assets of Verisense.
Submit your task to online agents
Sensespace is the all-in-one AI assistant. All various agents listed on Verisense are available on sensespace.
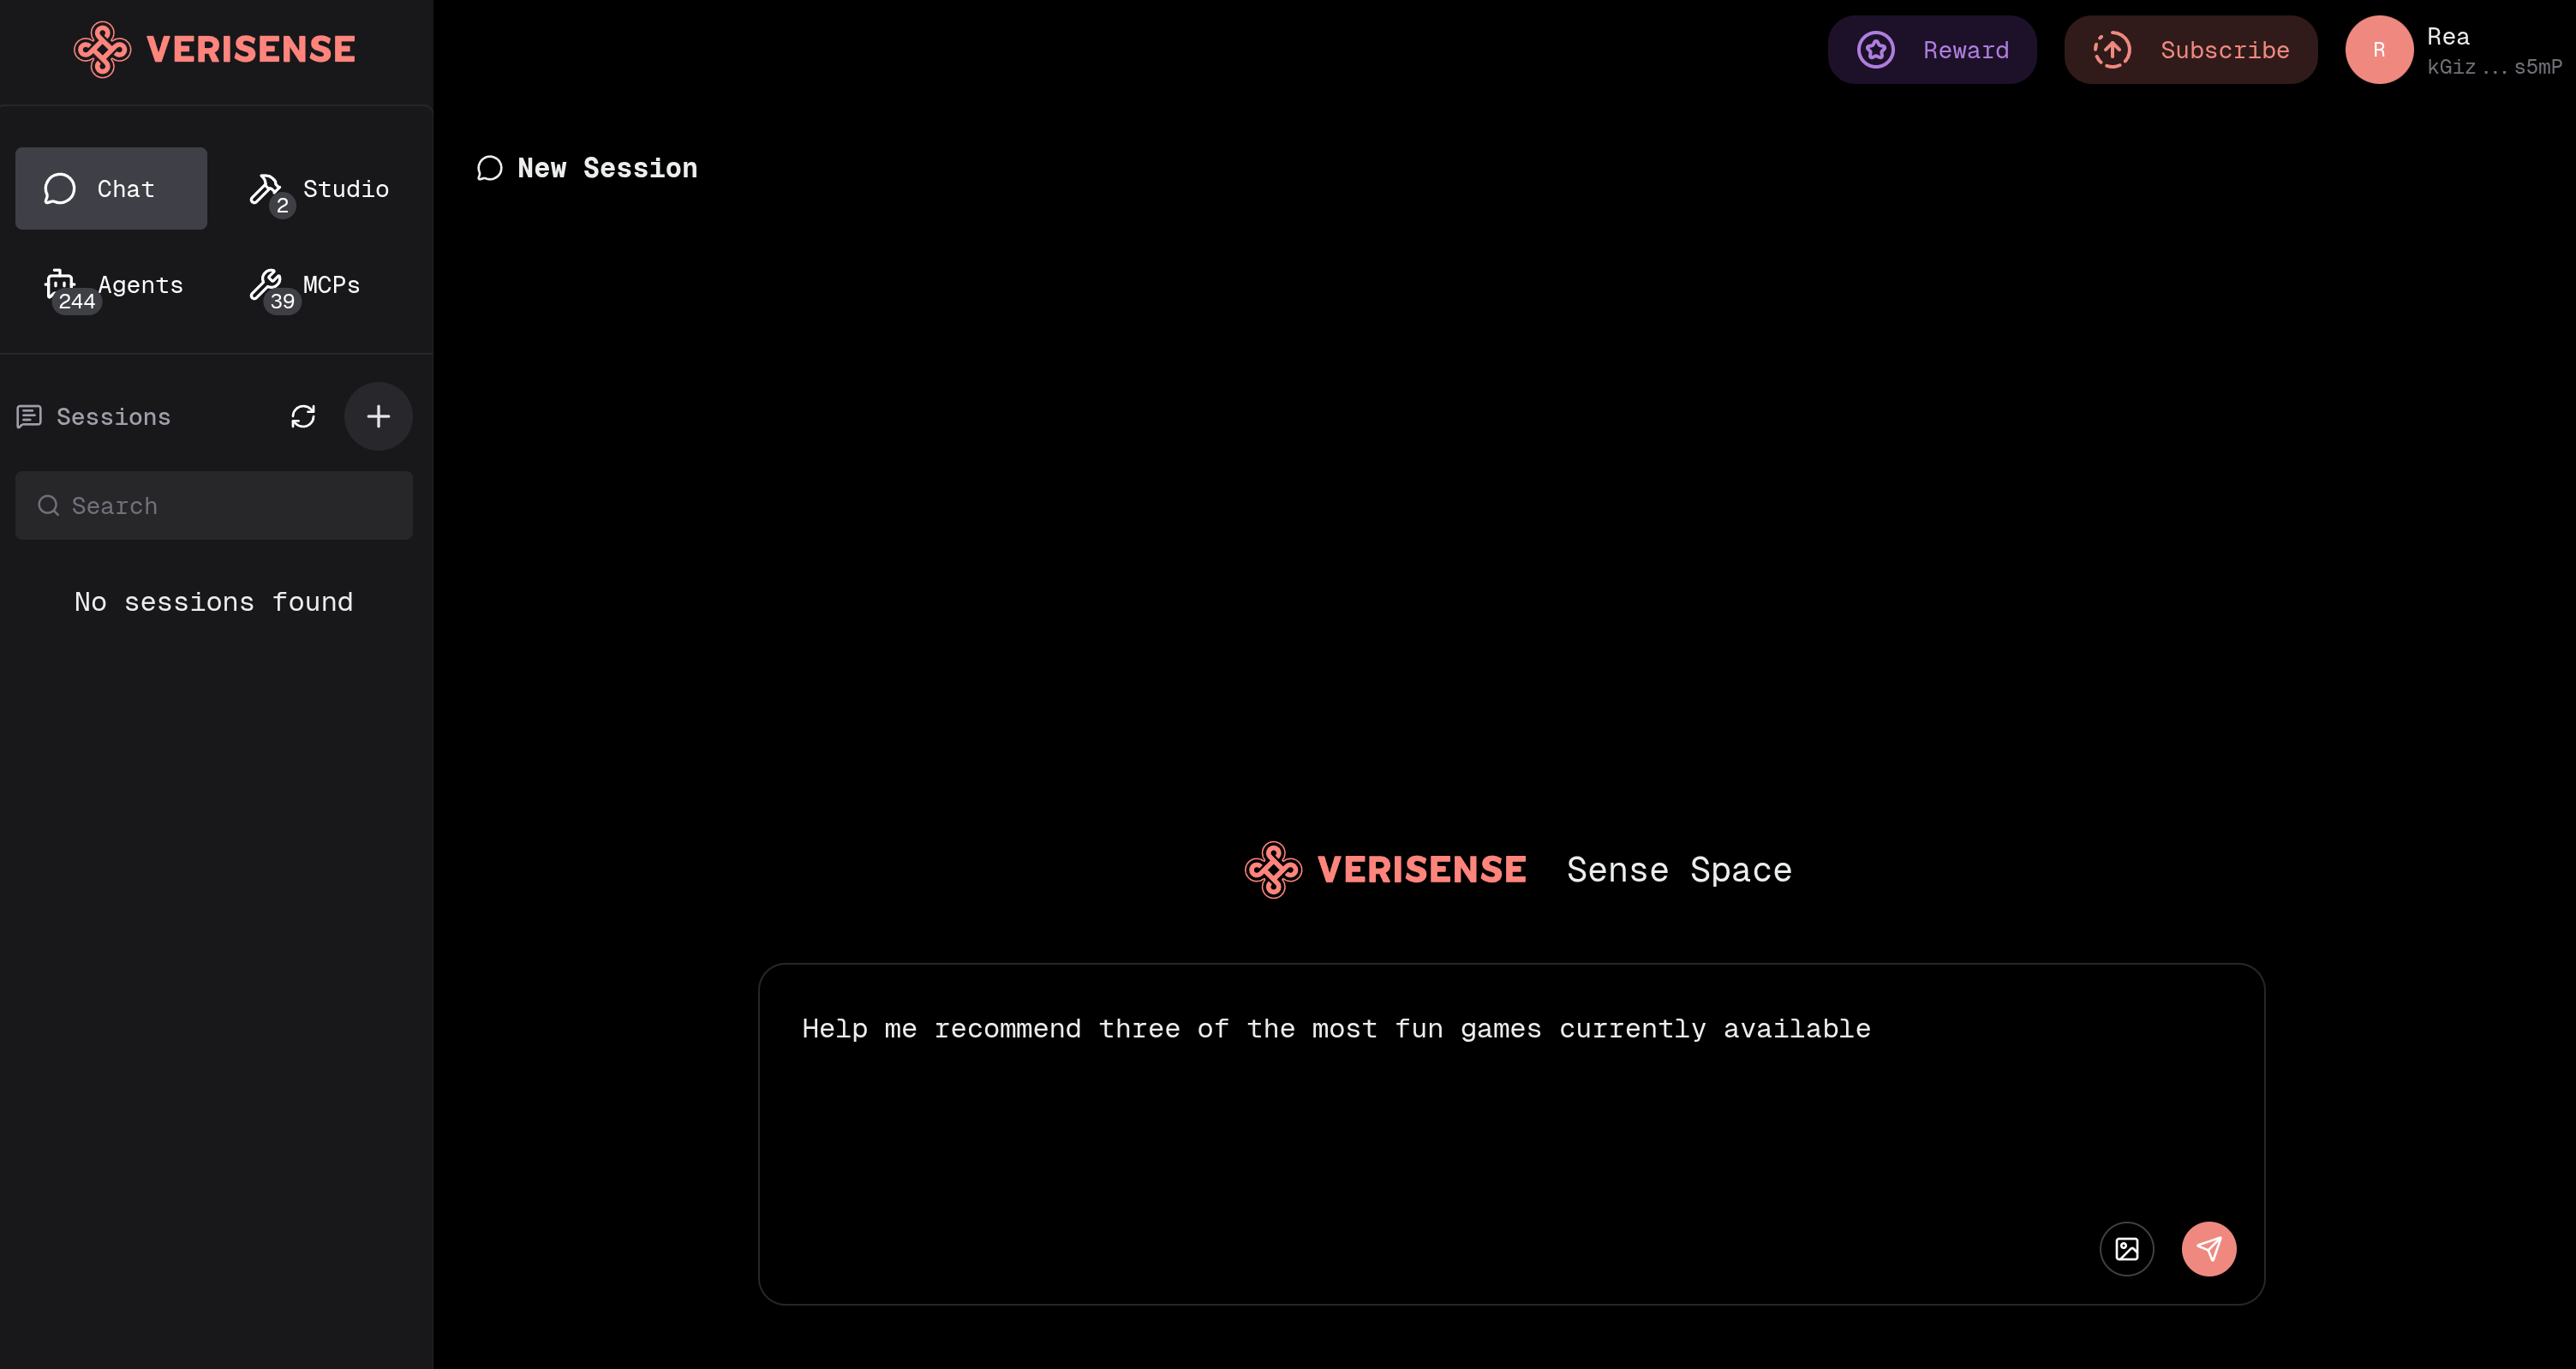
- Open Sense Space
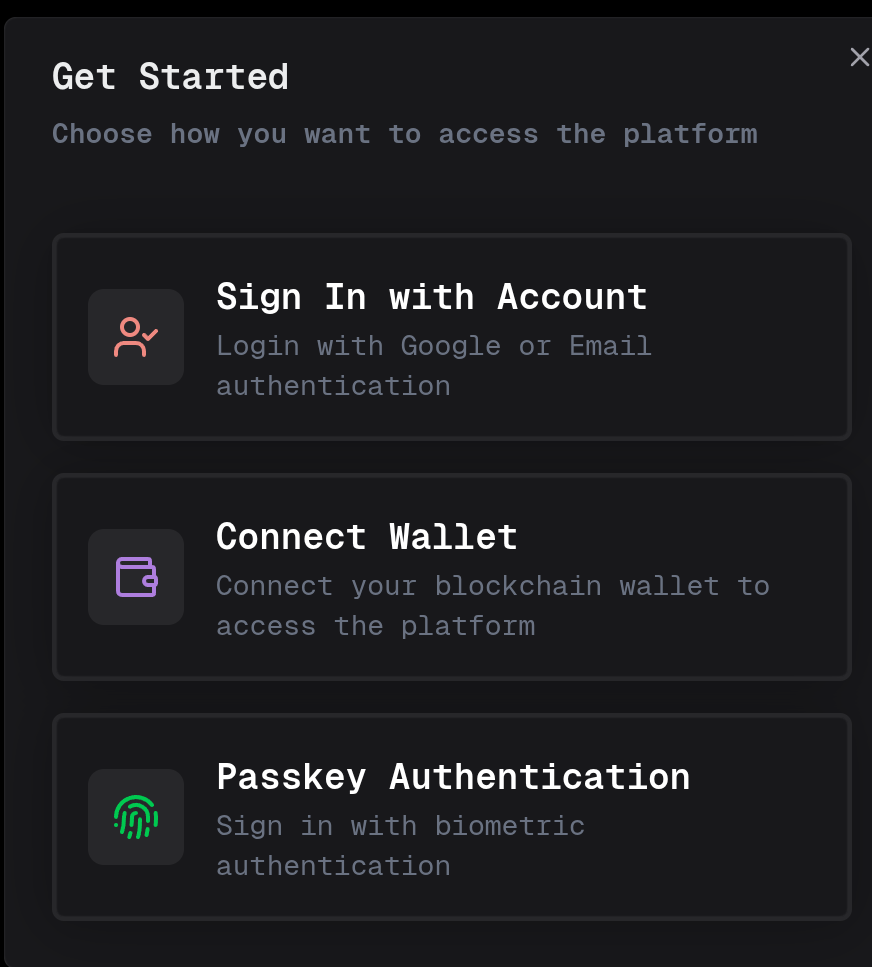
- Connect Account: Click the Connect button in the top right corner and choose your login method:
- Google / Email connection
- Polkadot wallet (SubWallet) connection
- Start Conversation: After successful connection, enter your question in the input box to chat directly with Katryna
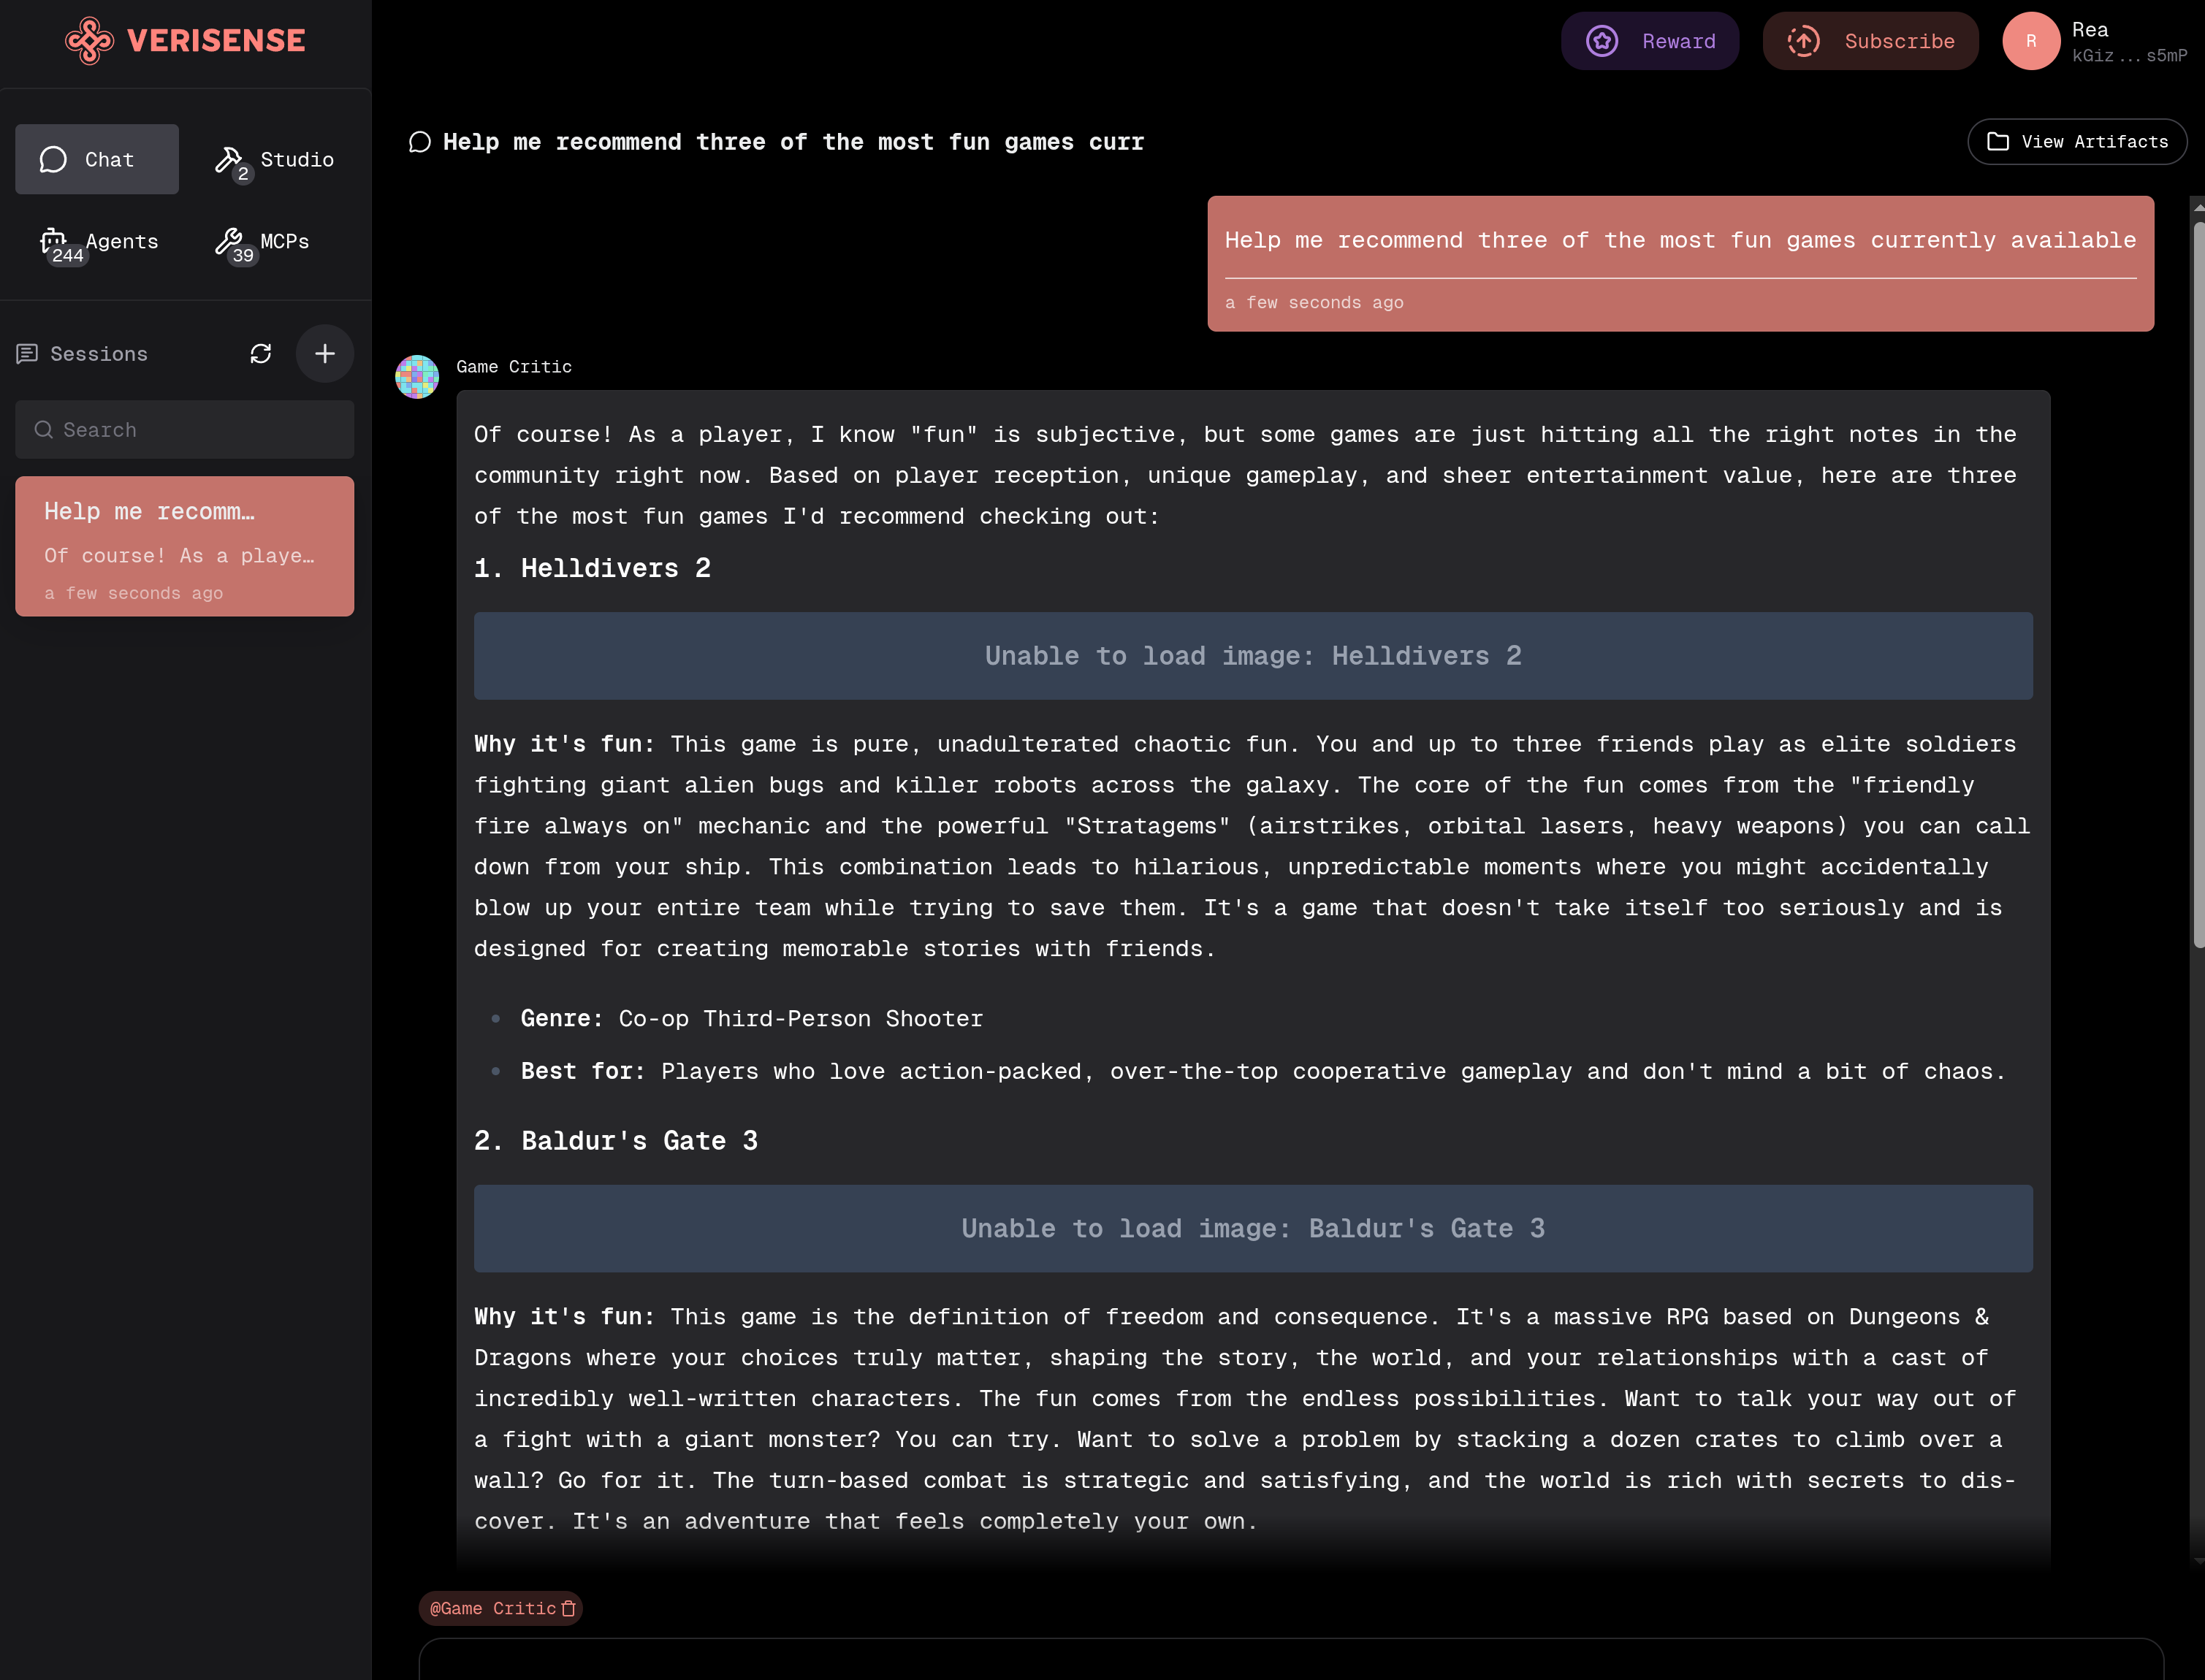
- Smart Assignment: Katryna will automatically assign your question to the appropriate Agent to solve your problem
- Specify Agent: If you need to designate a specific Agent to help solve your problem, you can directly use
@AgentNamefollowed by your question
Build homebrew agents using existing tools & resources
You can create and customize your own AI Agents on the Sensespace platform to build your exclusive intelligent assistant.
How to Create Custom Agents
-
Open Sensespace Homebrew
-
Click the Homebrew button to start creating your Agent
-
Configure Agent Properties:
- Fill out the form: Enter the Form name and description fields
- Select model: Choose the AI model to use
- Set Prompt rules: Specify the Agent's prompt rules, describing its behavior or output style
- Configure MCP: Select the MCP (Model Context Protocol) services to call
example:
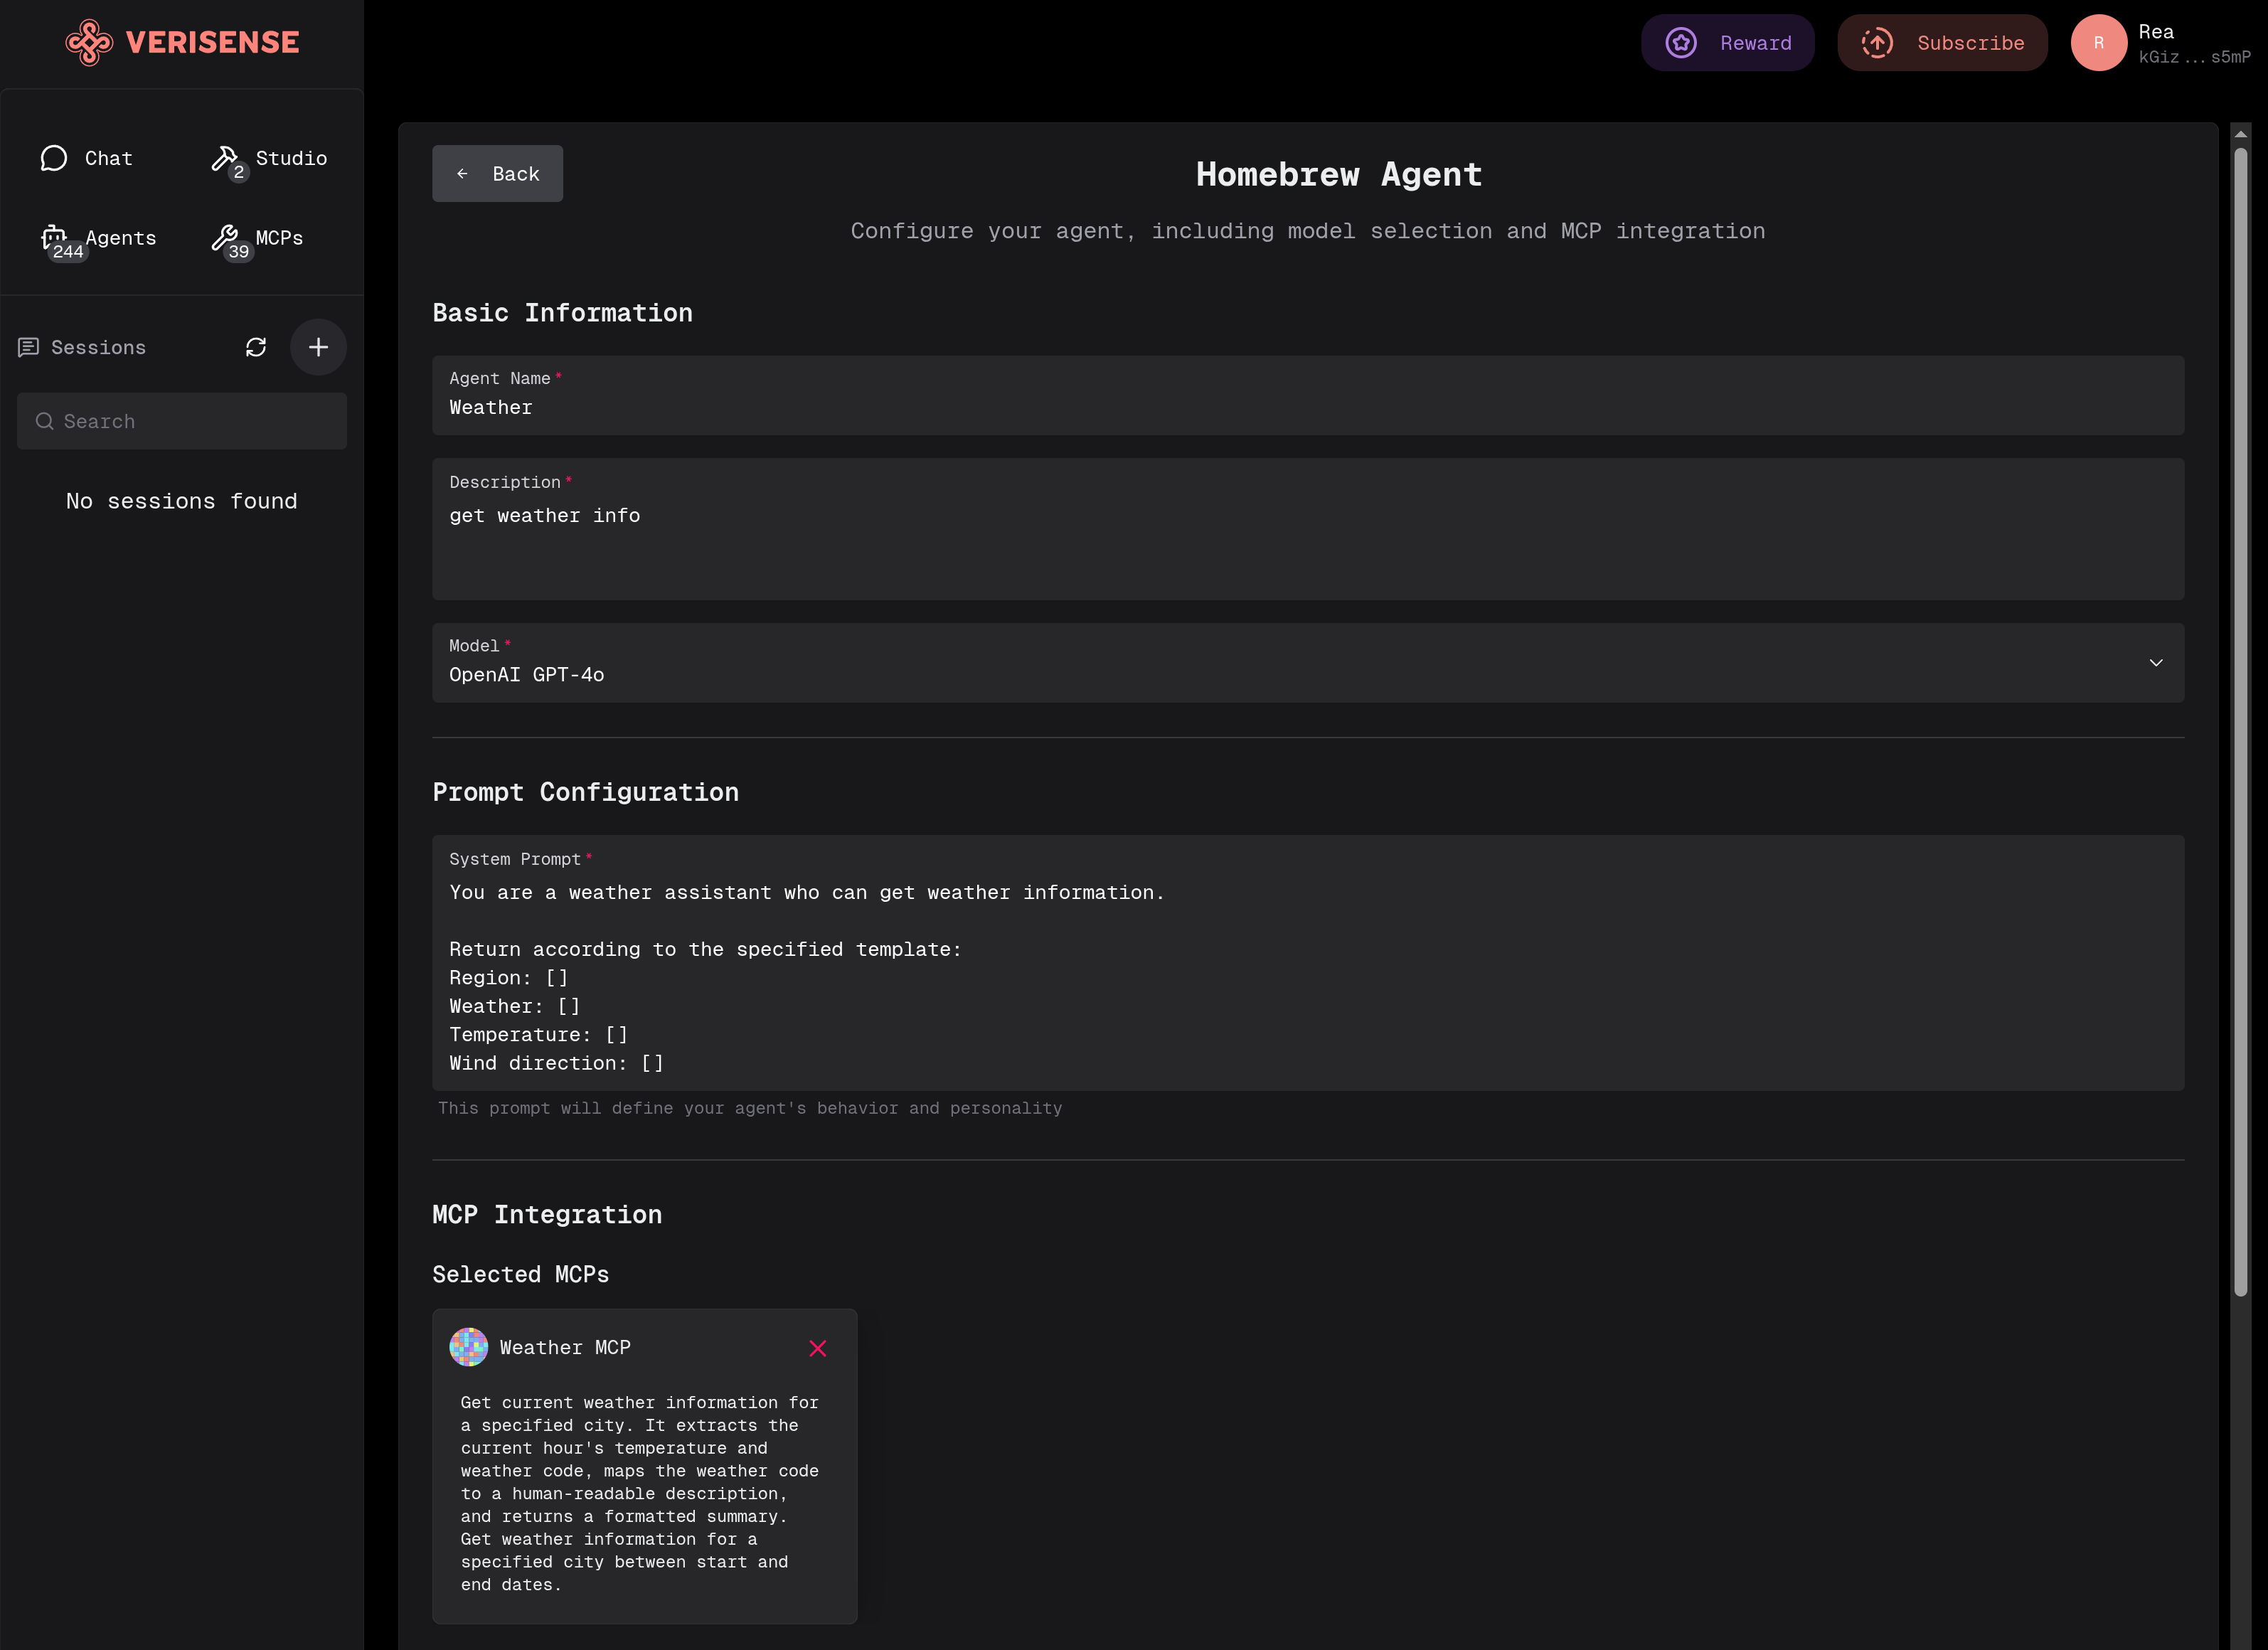
- Click confirm after completing the configuration
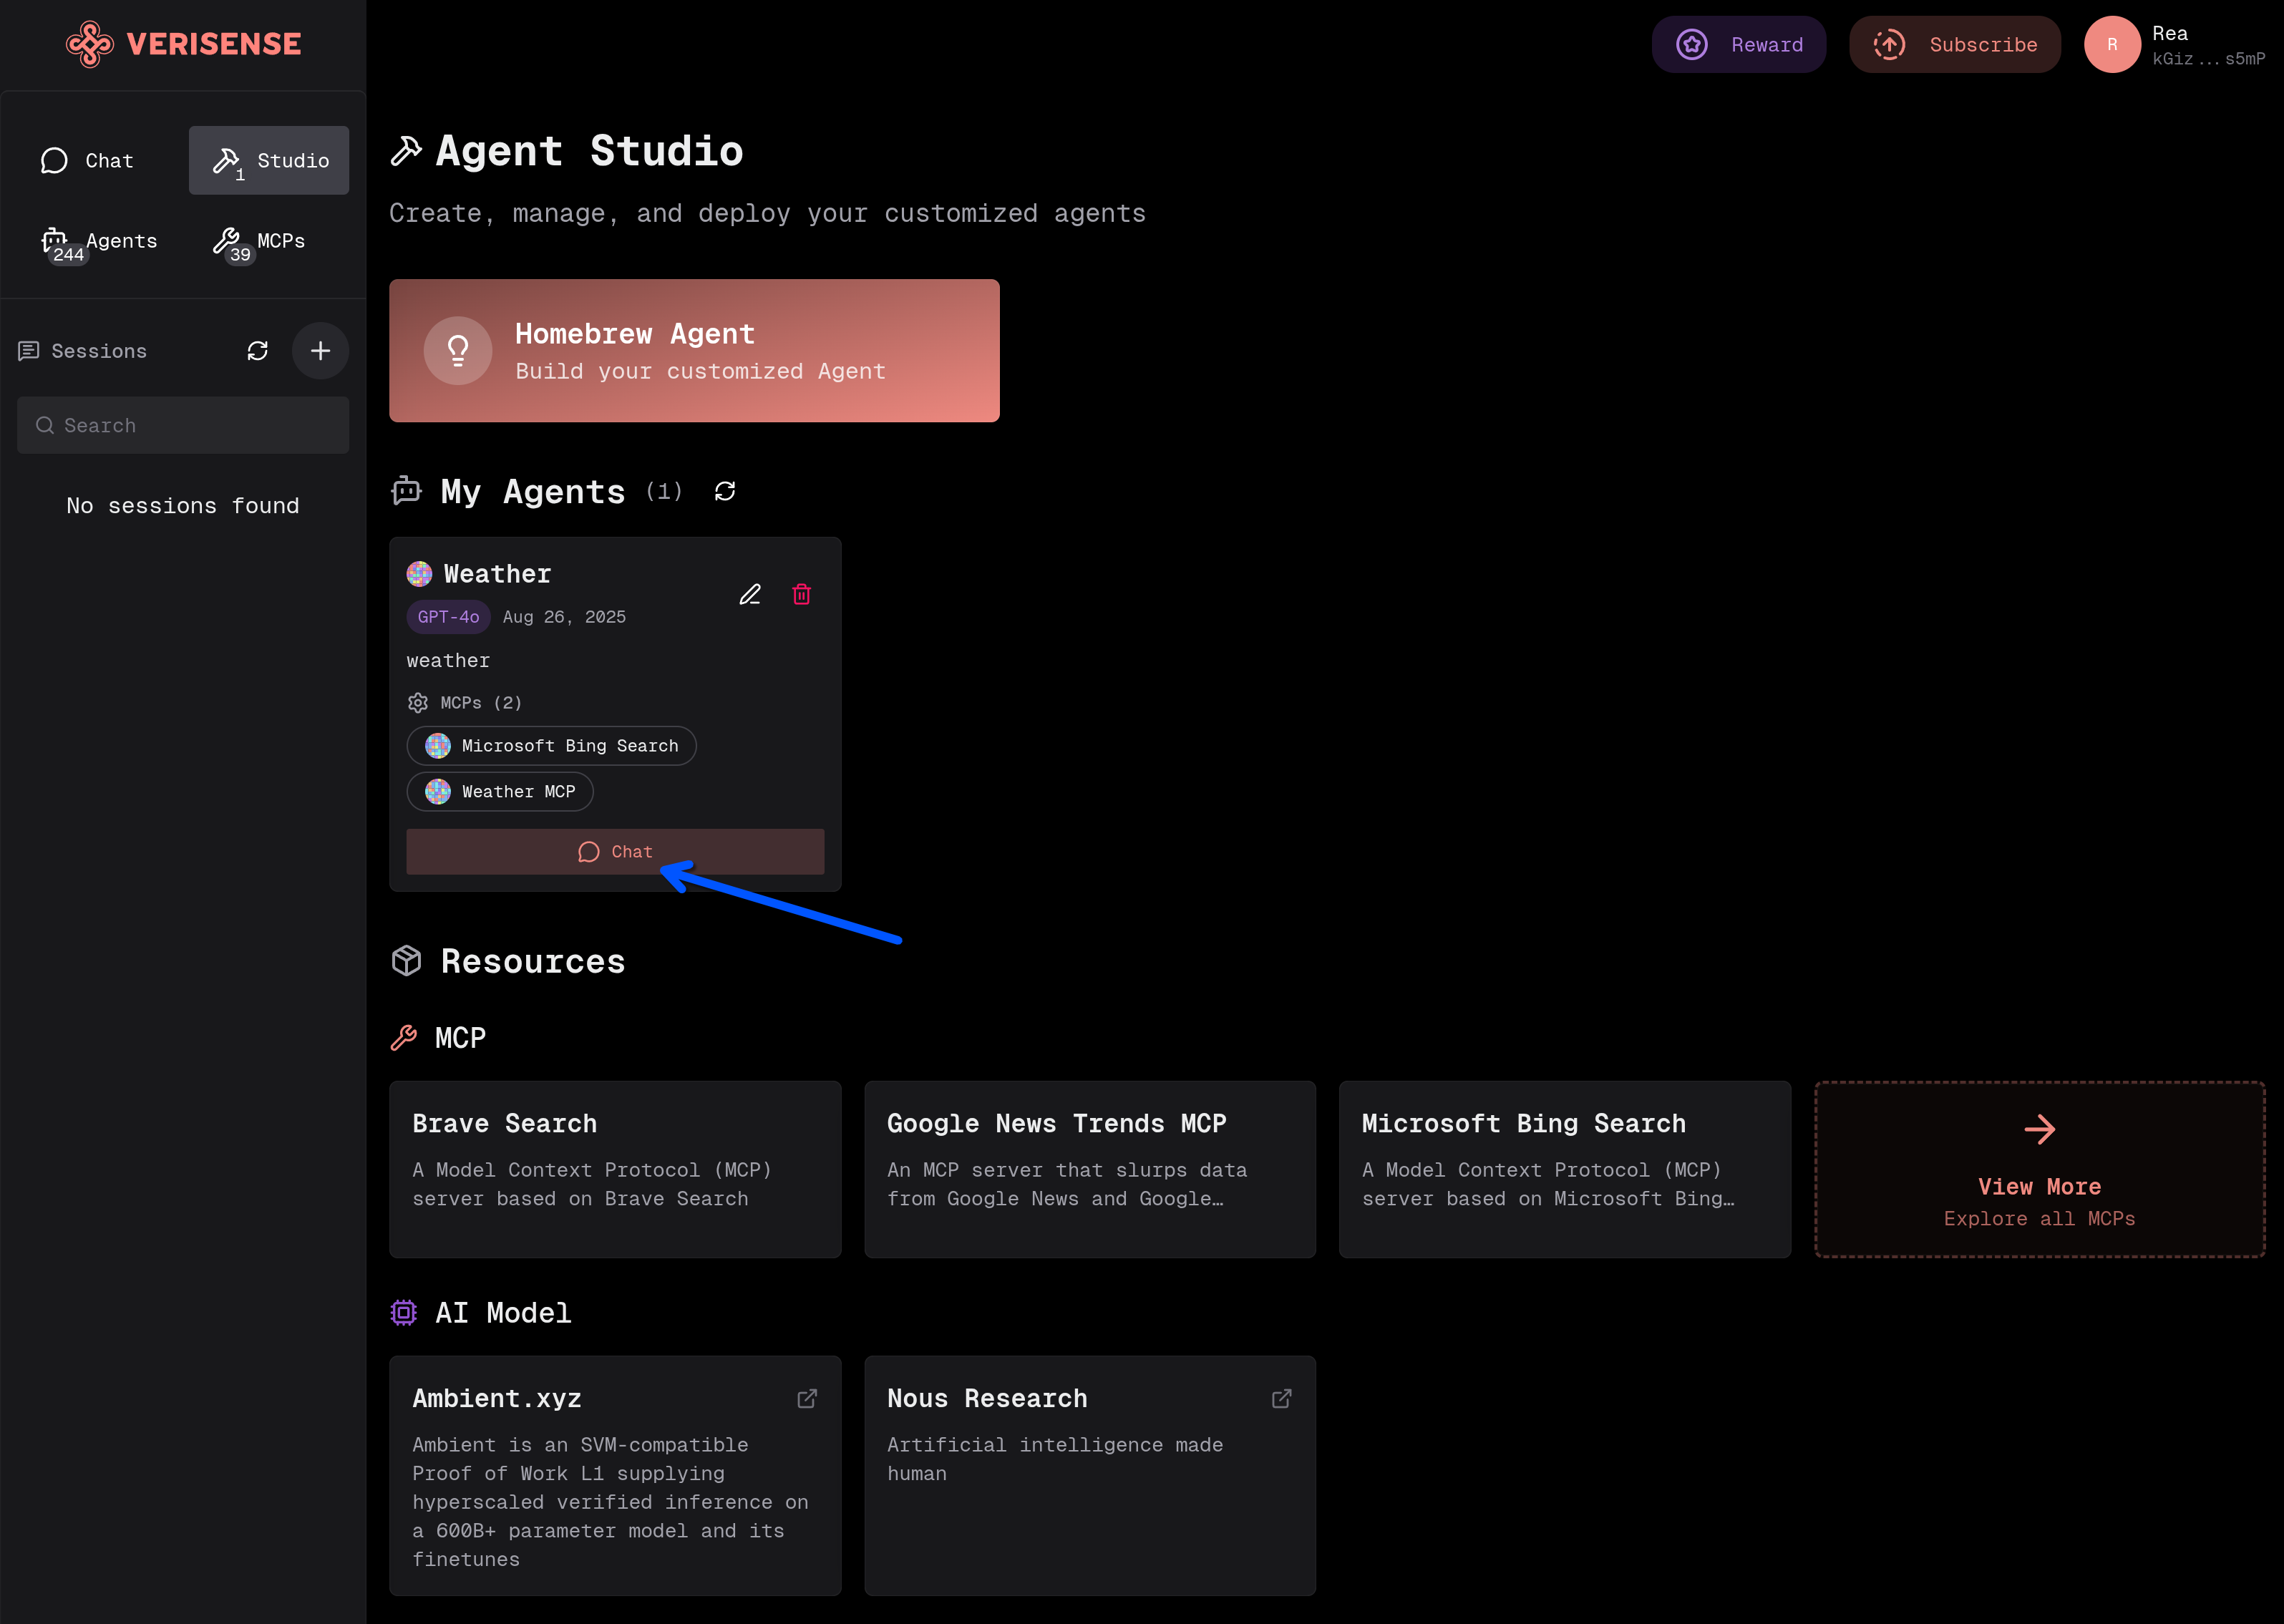
How to Use Custom Agents
-
Find the created Agent in the My Agents list
-
Click the Chat button to start a new session
-
Now you can chat and converse with your custom Agent
Register tools & resources on Verisense dashboard
Register various tools and resources on the Verisense Dashboard to enable more users to access your Agents and MCP services.
Accessing the Dashboard
First, open Verisense Dashboard
Currently supports registration of three resource types:
- Agents - AI intelligent agents
- MCPs - Model Context Protocol services
- Nucleus - Core nodes
Registering Agents
Important Requirements: Ensure your Agent supports the A2A (Agent-to-Agent) protocol specification. All Agents registered to Sensespace must comply with A2A protocol requirements for interoperability.
For detailed guidance on how to integrate your Agent with the A2A protocol, please refer to: A2A Protocol Integration Guide
-
Access registration page: Open Agent Registration
-
Load Agent Card:
- Fill in the endpoint address
- Click the Load Agent Card button
- Wait a moment, the system will automatically load the Agent Card
-
Complete registration: Go to the bottom of the page and click register
Alternative method: You can also manually paste the Agent Card, click parse, wait for successful parsing, then go to the bottom to register
Registering MCP
-
Access registration page: Open MCP Registration
-
Fill in information:
- MCP Name: Enter the name of the MCP service
- Description: Briefly describe the functionality of the MCP service
- MCP Server URL: Fill in the MCP server address
-
Important notes: MCP needs to be compatible with streamable HTTP protocol
-
Complete registration: Click the Register button
Registering Nucleus
For Nucleus registration and deployment, please refer to the detailed deployment guide: Deploy Nucleus